Thanks to Alessandro Vattimo that in this article illustrates his technique to make a paper model of our handmade article .
Because we have to design, before creating!
This article is for who wants to work with leather/hide at a “hobby” level rather than a professional level.
When I started working with leather/hide for manual production of accessories (of any kind), the design phase,
I found it very hard and the most challenging.
The swarms of “tutorials network” showing certain processing steps, almost no one explains how to create a paper model. I always preferred creating the paper models on my own, because I never did like buying them or downloading them from internet for two reasons:
A bought or downloaded paper model leaves very little margin for error, and often the instructions are confused.
To develop a product based on bought patterns you must strive to "enter" in the mind of the man who created it. Effort that, at least from my point of view, requires too much energy to reach a non satisfactory result.
How do you turn an idea, into something concrete?
How do you transform an image that we have in mind in a finished product and usable? The purpose of this article is just to guide you in the most important phase of the leather/hide: the design.
I premise that each one develops one’s OWN design and one’s own method of putting ideas together ; here's mine:
First of all, before deciding the measures, type of leather, parts etc. . ...
It is important to make a free hand drawing of the article you want to accomplish.
It should not be a “clean” and detailed design, but a draft (or sketch) of what you have in mind;
the best option would be drawing with the ¾ view.
For this phase is fine any sheet, left over paper , pen or pencil what you have available.
The purpose of this is to sketch the idea out, and have in front of you the 'image of your idea (additional help may be writing notes on the side of the sheet where you have space).
Now that you have before you, the ' "embryo" of your project it’s time to start working " scale".
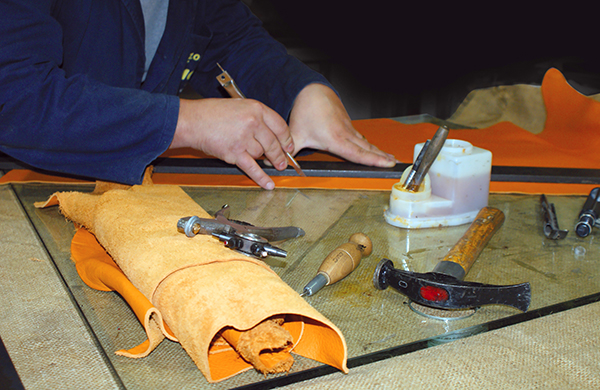
Once you have decided on the measures (eg. a bag) in height, length and thickness, it is time to "arm yourself" of the following materials:
- Ream A4 sheets
- Pencils 2H and HB
- Ruler, square 45 °,square 60 °, compass and curvilinear
- Eraser.
If the phase of "sketch" you have let your hand go and you have abandoned yourself to the creativity at this stage
you will have to have a lot of patience.
Every minute spent to think you gain a minute for the assembly.
The more you are accurate in this (and other steps) it will remain in your mind and you will not find yourself, to have to go back on your steps by asking yourself what you did in the design phase.
The "scaling" is very simple: just take the measures that you had established and split them for x, where x is the real value of the measures.
Eg. If we think in scale 1: 2 (see 1 to 2), the one I use most, it means that 1 cm (if we useas the unit of centimetres) on the sheet is equivalent to 2 cm in reality.
Therefore if we want our bag to be, for example, 40cm by 30cm by 15 cm, scale 1: 2 the size that we will have on the sheet will be 20x15x7,5 cm. At this point, with the 2H pencil, draw a polygon, the size, according to the scale you have decided to use and, with the use of a square, ruler, compass, curvilinear and any design material you have, NEVER hand free, try to redesign your project based on the sketch.
You must draw your product from all sides: FRONT, BACK, PROFILE drawing carefully every detail.
In the case of a bag you will have to draw all the "attaches" of the buckles, the position of each rivet, button, or small parts, handles or the shoulder strap etc. ...to make it short: you must draw the actual product !!
This step intersects with the choice of leather and of small parts.
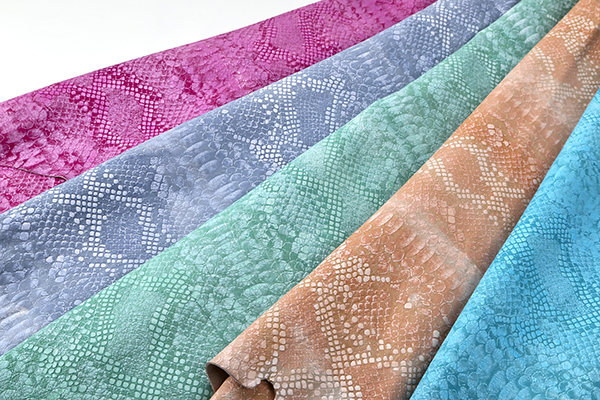
There are many types of leather with thicknesses ranging from 0.8 mm to 5 mm and each of these has its own characteristics which influences both the seams and the rigidity of the article (not to speak of the various methods decorating-but that's another topic).
The parts are essential with respect to both the appearance and that of the practical (or comfort).
If you have some scraps (cuttings) I recommend you use them to try out the types of stitching to see how the leather reacts.
Unfortunately there are no fixed rules, so, much of it will be based on your experience and your "common sense."
Try however to start with simple projects ( if you are a beginner, avoid, inside pockets, double pockets or odd shapes. Each variant, modification or addition requires a separate paper model.) We continue on our scale drawing on a classic A4 sheet.
Once finished the design with 2H pencil, we can go over everything with the HB pencil (from the stronger section) and we have the real design of our product. Always remember two factors :
You Are working by hand - no PC, no CAD or various programs - then your search should not be that of perfection but that of harmony.
Harmony between beautiful and useful (comfortable) and harmony of shapes and proportions. At this stage there is no need to work to the millimetre. You can round up for excess or for defect.
This phase is to give you an even more concrete idea, than what you have in your head.
Tired? Exhausted? Take a break because we are not even half the work (some paper models require from three days to a week prior to "touching" the leather.)
The craftsman secret is patience.
Now that you have rested let’s move on to the REAL DIMENSION on paper.
At this stage I use the F4 rough sheets not squared.
Besides the usual "amenities" for drawing we add another three instruments:
- Knife or scalpel blade
- tape paper
- Ruler (better yet a ruler of 100 cm) metal. (All these items can be found in any stationery)
If until now there has been required patience now you'll have to raise this patience as high as you can.
Trace (always with the 2H pencil) a polygon with real dimensions (you'll probably have to join together sheets with tape paper) and draw in actual size every single piece of the product.
Going back to the bag example we have:
- Front with the closure (clip, buckle, a magnetic snap etc ...)
- Back with the closing flap (calculated on this piece even the thickness of the bag)
- Side Band
- Handle or shoulder strap (or both)
- Attaching of the buckles, rings that hold the shoulder strap and side band
-And any other work.
At this stage there is no escape! You have to work to the millimetre!
At this point the choice and type of leather and of the parts must be made.
From here on, turning back is impossible (or very difficult).
Remember to mark the location of each element (rivets, buttons etc. ...) And calculate how much space
They will "need" the seams (for this we must have at least the basic concepts of working the leather/hide).
Once designed the pieces, went over it with HB pencil and cut with a utility knife and metal ruler, has comethe time for the first mounting test.
Using the tape paper put together the paper model (so it stays STABLE).
This phase serves for two purposes:
1-Evaluate whether the measures are right (and already here you may find some surprises) and if the joints fit together
2- Have in mind the order of assembly when you go to work on leather/hide and evaluate the critical issues that you may encounter at this stage.
A good idea would be to pin it somewhere.
If the paper model "works", that is:
- It is stable
- The joints fit together
- It is HARMONIC as a whole
- YOU LIKE IT
You can move to the next phase: the paper model on cardboard.
This is the final step, one that requires the most absolute accuracy, but it will train your hand to guide the knife on the leather/hide.
- Get one or two sheets of wood paper (material that is easily found in art stores or stationery)
- With thumbtacks set the paper model to wood paper
- Draw with a pen the outline with calmness and precision (marking the positions of rivets, buttons, sewing lines etc. ...)
- Remove the pattern from wood paper
- Cut the pieces.
The pattern is ready to be used.
Good LEATHERING!!!
Alessandro Vattimo.
S.0.S. Leather Art

")
Some books, and magazines dedicated to leather and hide and their craftsmanship.

What are the techniques craftsmen use?
In this section, an explanation on the methods that the masters in this field adapt when working with leather and hide.
A description on how cutting and sewing, our experts have produced some of their most interesting creations.

Different suggestions and useful information, to understand better this sector, and its various fields and why not, try to create your own leather object

This section is dedicated to news regarding curious and the extravagant world of leather and hide, for example the most strangest and bizarre techniques. The most unusual and extravagant work.

An online gallery with the most interesting, particular, extravagant and unique creations realized in the world, by craftsmen, artists or people who just do it for hobby, for profession or passion dedicate their time to working with this material.
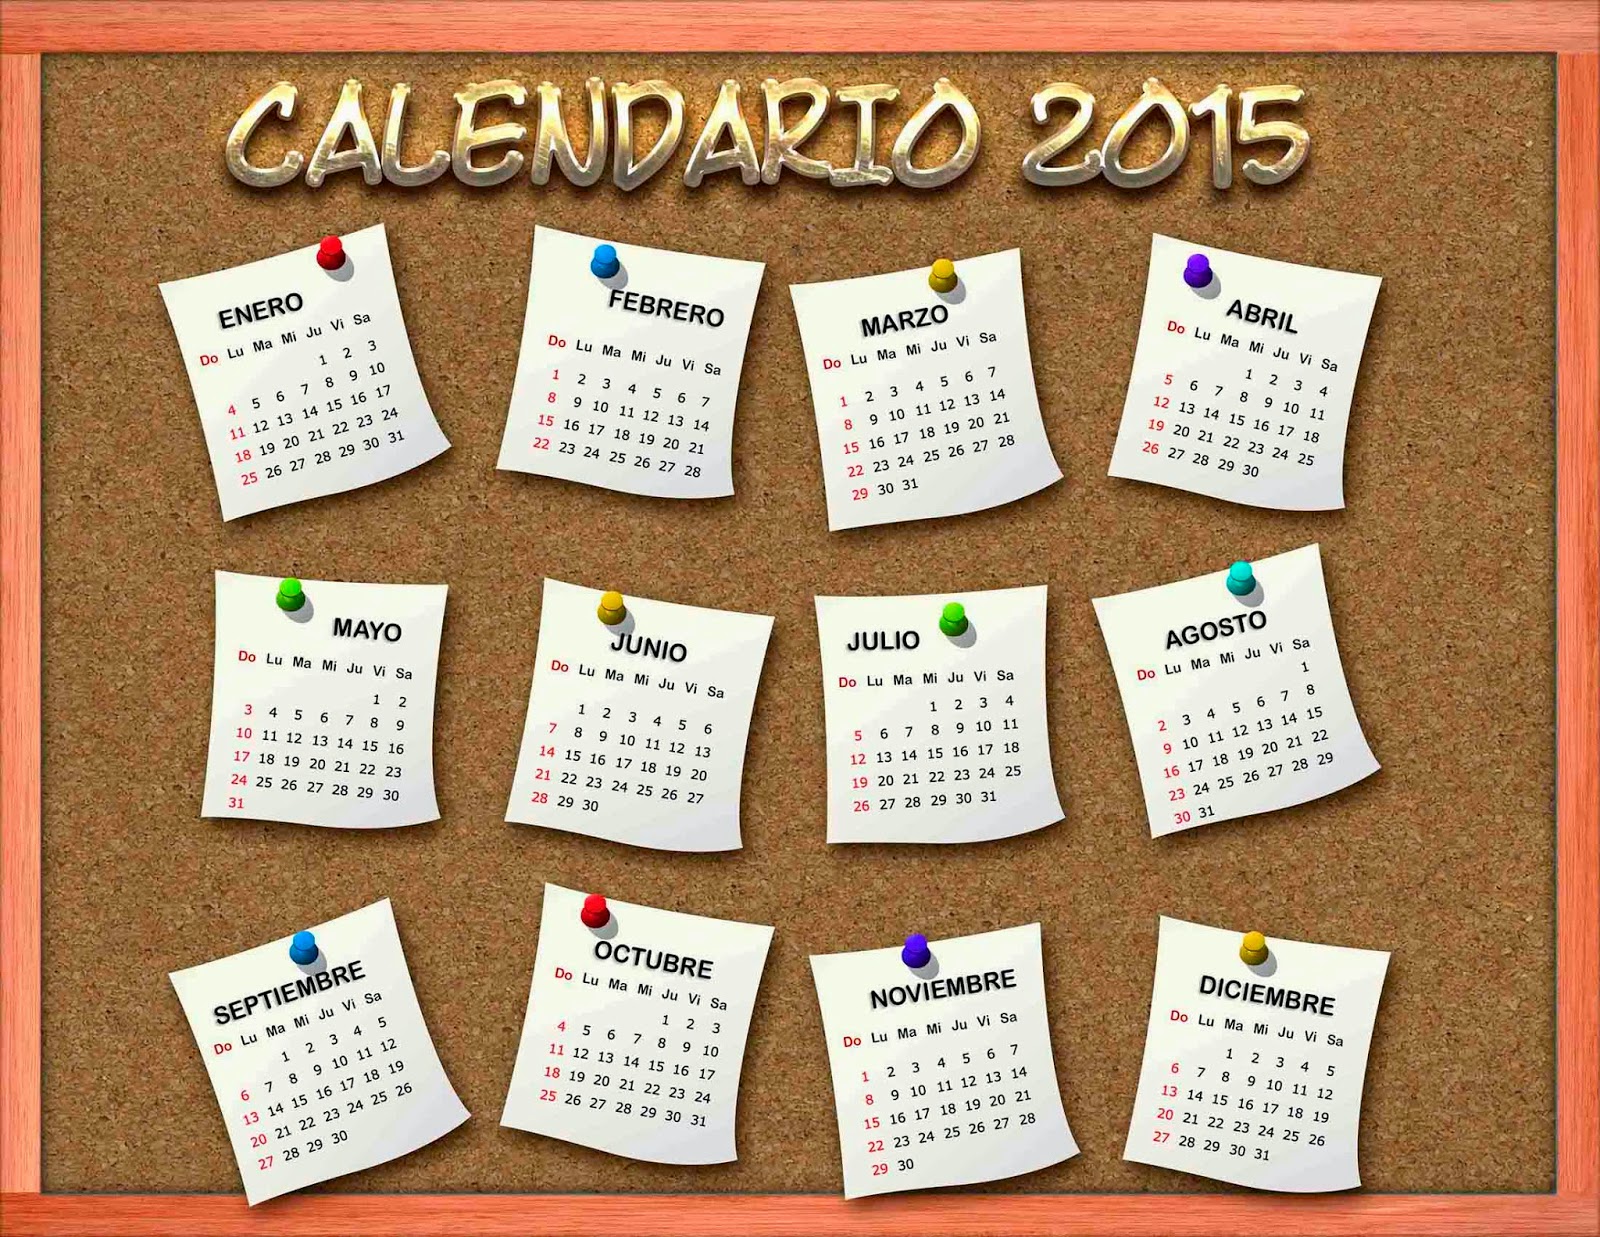
A calendar with dates of the best manifestations, events, courses, fairs and other initiatives, related to the leather world, and leather promotions in Italy and Abroad.